Thursday, July 31, 2014

Me Time Message #2 Caring

For all details about Me Time messages please click here.
For this project I started with a red envelop which contains a journaling card about the word caring.
I've been using this characteristic a lot the last couple of days because my son got the chicken pox.
First off I painted yellow stripes with an old credit card, glued pieces of matching papers and added some more stripes but now with orange, as I thought the orange is not clearly visible. I added some stamping and inked the edges. We were also supposed to stamp with paint, I like how that turned out, this is not something I do often but will certainly be doing more in the future.
I found this cute picture of Charlie Brown who is nursing Snoopy which was just perfect, I fussy cut them out and added some straw DI (maybe next time first inking and then cutting because with the small pieces I had to be very carefull not to tear them)
Then I just needed to add my text: loving, caring, sharing, this is family.


Sunday, July 27, 2014

Me time message #1 energetic


I finally managed to finish of my first Me Time Message. I started this already last week friday, but haven't done any crafting since then. I have vacantion and don't seem to feel the need/urge to craft. Perhaps because of being relaxed or maybe of being more exhausted due to entertaining a 4 year old all day then going to work :-)

I pretty much followed the instructions as can be seen here.

I found this quote:
Be active,be energetic,be enthusiastic and you will accomplish your objectives.
and thought this was so true, at the back I also added the definition of energetic


Friday, July 18, 2014

gelliclopedia - transfer film

It's been a while since I did a post in my gelliclopedia series, my sincere apologies but I have been creatively busy otherwise.
But as the purpose of this series was to improve my printing abilities I ought it was time to tackle some more techniques. 
I remembered seeing a video on the gelli arts blog about gelli transfer prints and wanted to try this for ages, I already bought some stickyback adhesive clear film (used to protect books) so nothing to hold me back there. Even the weather is with me, because it is really hot today, just ideal for this technique because you need to let the paint dry completely before adding another layer or pulling the print. So I grabbed paints, texturizers, the gelli plate and of coarse the adhesive film, took it outside and played a bit.

This is my first attempt and I must say I think the best one, I need to run out to the craft department to get some gold foil which will enhance it even more.


This is an example where I should have stopped before adding a stencil, I figured out for myself that I like the more simple designs without a lot of layering. This one is backed with aluminumfoil (the scan doesn't really pick this up)


A black and white version which I backed with some bookpaper

In the video they mention mica, gold foil, aluminum foil and bookpaper as backing materials, I was wondering what happens if you use delipaper ( which of coarse was also gelli printed)


After puling next print I realized that in fact it is the best thing to first place some pieces of delipaper (as they suggest in the video) on the plate to create blank spaces


However I seem to have an issue with it staying in place when rolling on the paint??

Because you add silver/gold on the print I wanted to experiment with some metallic paint:


I didn't use anything to create texture, it's just the marks of rolling the brayer.  And instead of using pieces of delipaper I used some masks out of plastic. Works like a charm. I might back this with some black paper.
Next up was this print, along with the first one my favourite


For the last print of the day I used some pearlescent paints, masks of stars and butterflies, stamped some flowers with a glass coaster. I'm glad I added some bold color because the pearlescent paint is really subtle (hardly visible)


So far my experiments with transfer film, this was absolutely fun play, if you haven't given this already a go I can highly recommend it.

Thursday, July 17, 2014

Me Time Messages

Clare Lloyd who is the organizer of the junk journaling 2014 group has also created a 6 week workshop called Me Time Messages, for more info you can visit her blog over here.
In the workshop we will be transforming 6 envelopes.
For the first week we are takeling our largest envelop in which all the others will fit.

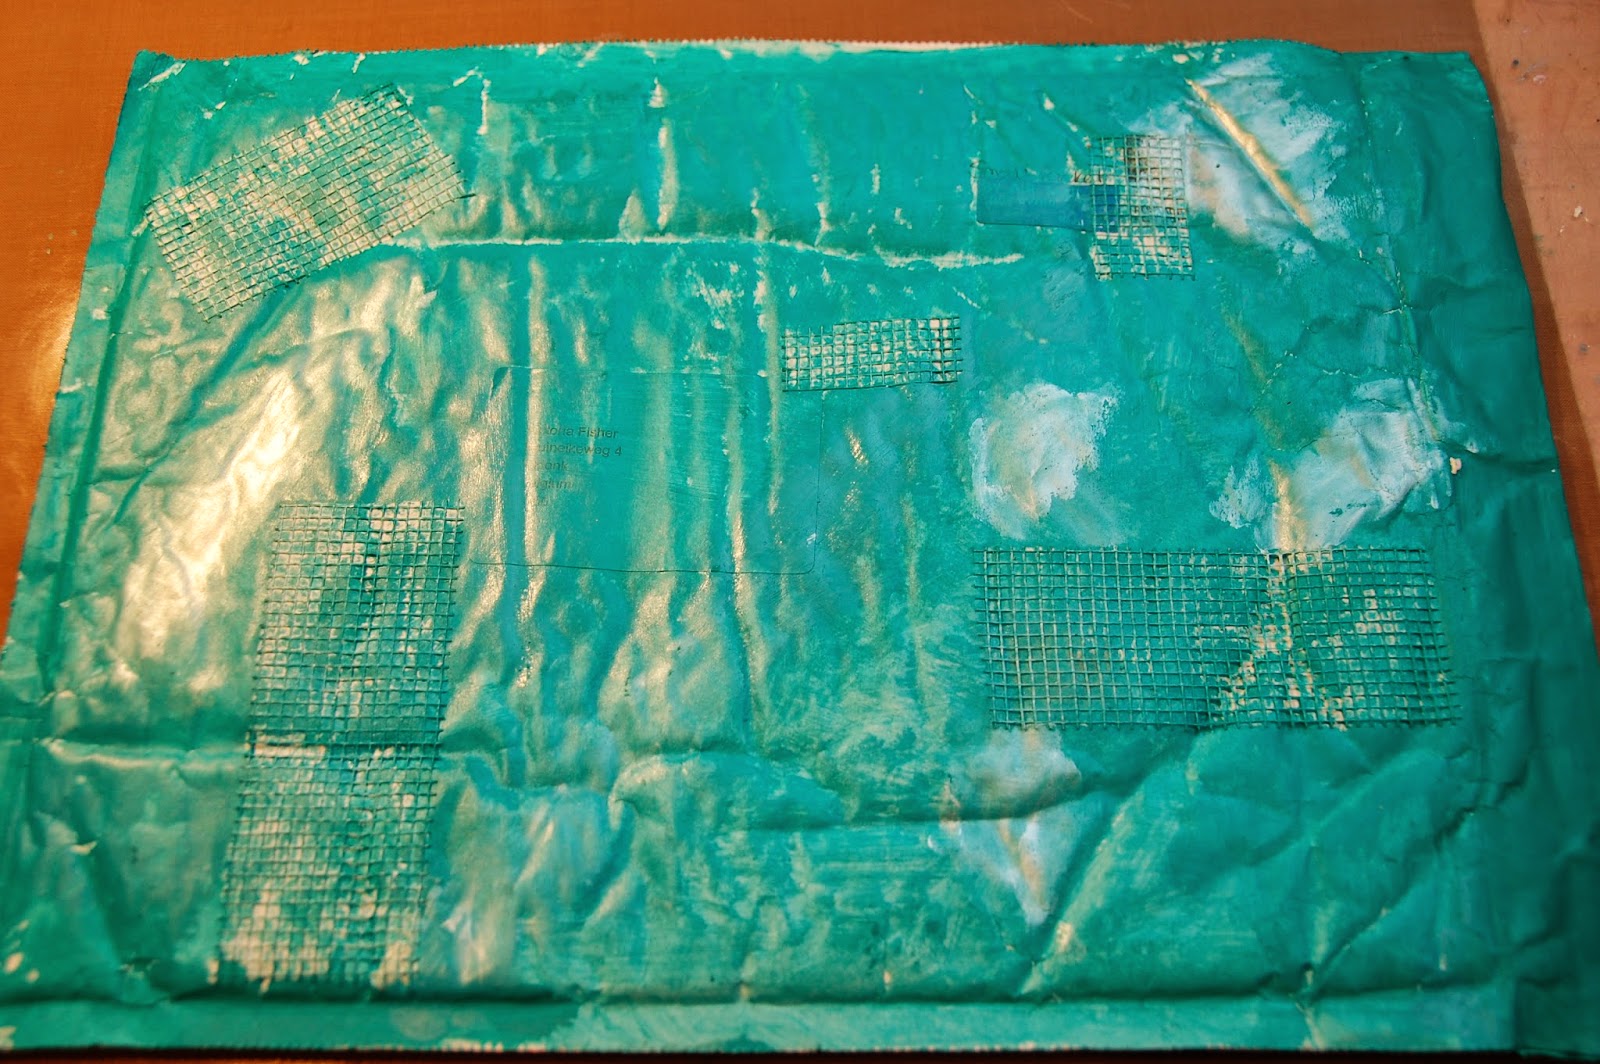
step 1 was to add some masking tape, I rather felt like adding some dry wall tape


step 2 was to gesso the envelop, as this was already a white envelop I skipped this step.
Step 3 : add 2-tone colour: I used 2 tints of turquoise, however you couldn't see the 2 tones after applying so I added some pearlescent paint to give it some definition.

Step 4 was to add some stamping with archival ink, I used Stazon as I don't own any archival ones. I used stamps I bought earlier that day, I must say I am pleased with the new aquisitions


The following steps were: 
  • add washi tape check
  • add a stencil to highlight the washi tape check
  • add a little more touches of paint check
  • add a picture/drawing... of yourself, I gave this a bit of a twist as I added a butterfly: I love butterflies and I like to be as free, distinguished and elegant as one.
  • Add the name of the workshop: for this I used some scrabble tiles
So without further ado here is my finished envelop


Can't wait to start the next assignement.

Thursday, July 10, 2014

Path

This is the first time I had a written plan to make a page from start to finish AND which turned out like I thought it would.
The background is created by writing the lyrics from Robbie Williams’ song Road to Mandalay (don’t ask me why but suddenly this song came to mind when thinking about horizon and path),
some random pieces of an old map and broken china distress stain.
I then whipped up some homemade texture paste according to following recipe:
4 tbsp baking soda / 2 tbsp gesso / 1 tbsp white glue and added some green gel stick shavings to color it.
With the baking soda the texture paste has more grit which was exactly what I wanted for this, but if you don’t want this just substitute the bakingsoda with babypowder, not only gives this the paste a smoother finish it also makes it smell nice J.
I used the texture paste to create a mountain with a winding road to a nice Italian style villa on the top.
Then the only thing that I needed to add was my quote:
Difficult paths often lead to beautiful destinations (originally it said roads but I took the liberty of changing this)


Saturday, July 5, 2014

art-to-do-this-summer-with-my-son-book

One more week of work and then I can spent 3 weeks of quality time with my 4.5 year old son.
I’m preparing a book with fun activities which we can do together.
The concept is that my son can browse through the book and pick an activity he likes, I will add pictures of all the needed materials so he can help gather everything together.
I found the instructions for this book here


For this project I needed doublesided scrapbook paper and as I apparently don’t have that I searched for something else and suddenly my eye caught the sheets (50x60cm) that I lay on my desk to work on, just perfect for the job on hand.


Here are the instructions on how to construct the pocket pages:

cut pieces of which the width is half of the length + 1cm
I cut  pieces of 25x13cm (this will give square pages of 12.5cm)
I made 15 pages for this book


Fold them double lengthwise


Unfold them and score 1 cm wide lengthwise,
Cut of the top part of the 1cm strip


   Flip the page


Make a mark at 1cm from the top at the right side and 3 cm from the fold upwards on the left side
Cut along this line (this will become the pocket)
Turn the page and fold the pocket, the 1cm wide strip is folded and glued to the back of the page
And then I had a massive oops as I punched the holes on the wrong side, now I had following choice:
  1. Start all over (didn’t think so)
  2. Bind them in like that, the pockets would be orientated differently.
  3. Or add an extra set of punches in the correct place
I opted for the last choice, now my pages have a set of decorative punched holes as decorations.

This is the finished binded book:


Now I need to fill it up with fun projects, I already found some, but am always looking for new ones so feel free to leave a suggestion below. 

Wednesday, July 2, 2014

Shakespeare - junk journal page #20

gessoed cardboard foodpackage + images out of dictionary = 


Gelliprinted over it with a letterstencil in 3 different colors (brown, yellow and orange). You don’t really see the letters but I’m pleased with the background.
Because one of the images was of Shakespeare I took my inspiration from that.
I took a piece of a doiley, sprayed it with red Dylusions and glued it on some double sided carpet tape, added gold glitters in the empty spaces and glued it in the corner of the page.
On the other side I added a lace border with a stamp (from Kaiserkraft I believe) and added a vintage looking lady ( a free printable from Vintage Emphemera Garden -  just sign up for the newsletter).
Made a flower out of bakingpaper which I use when tea dying paper to age them, used another piece of this bakingpaper to add the journaling stamp on which I wrote a quote from Shakespeare:
It is not in the stars to hold our destiny but in ourselves.
I tried to write in what I think is an old fashioned way. I had an oops while glueing this piece with some gel medium as the marker wasn’t waterproof, so as a result of this it smeared, but this only adds to the vintage charm, don’t you think?
In the upper corner I added a heartshape made out of hot glue which was laying on my desk from an experiment using it as a stamp.


junk used:
cereal package
leftover pieces of dictionary pages
bakingpaper
hotglue heartshape

Tuesday, July 1, 2014

Birthday calendar July

First of all I would like to say how overwhelmed I am with all the visits recently to my blog and all the warm, positive comments.
It feels really good to be appreciated as a crafter.
So a big thank you to all of you for taking time to visit and leaving a comment.

And now on to this months birthday calendar.
I didn’t need to search long for inspiration this time,as this is the beginning of the summerholidays what better theme than the beach.


I took a picture of our holiday as background and framed it with sand and some shells.

O, how great would it be to have 2 months summerholidays like in the good old schooldays, imagine how much crafting you could do...
enough daydreaming for one day, till next time, bye.