Showing posts with label making stamps. Show all posts

Wednesday, January 7, 2015

birthday party

Saturday we had our first birthday party of the year and at the same time still needed to exchange our new year gifts.
I created my second page in my ARTicles book about this occasion.
I was over the moon with my present: 36 Derwent inktense pencils and a mixed media paperblock.
Off course I wanted to give the pencils immediately a try and created this background


I choose this color scheme because the person who’s birthday it was wore a boa and sunglasses in these colors.

I added some pieces of giftpaper (I always keep the gift papers, if my son hasn't ripped them completely)


And made this masque, because the boa in some way reminded me of a masquerade ball.


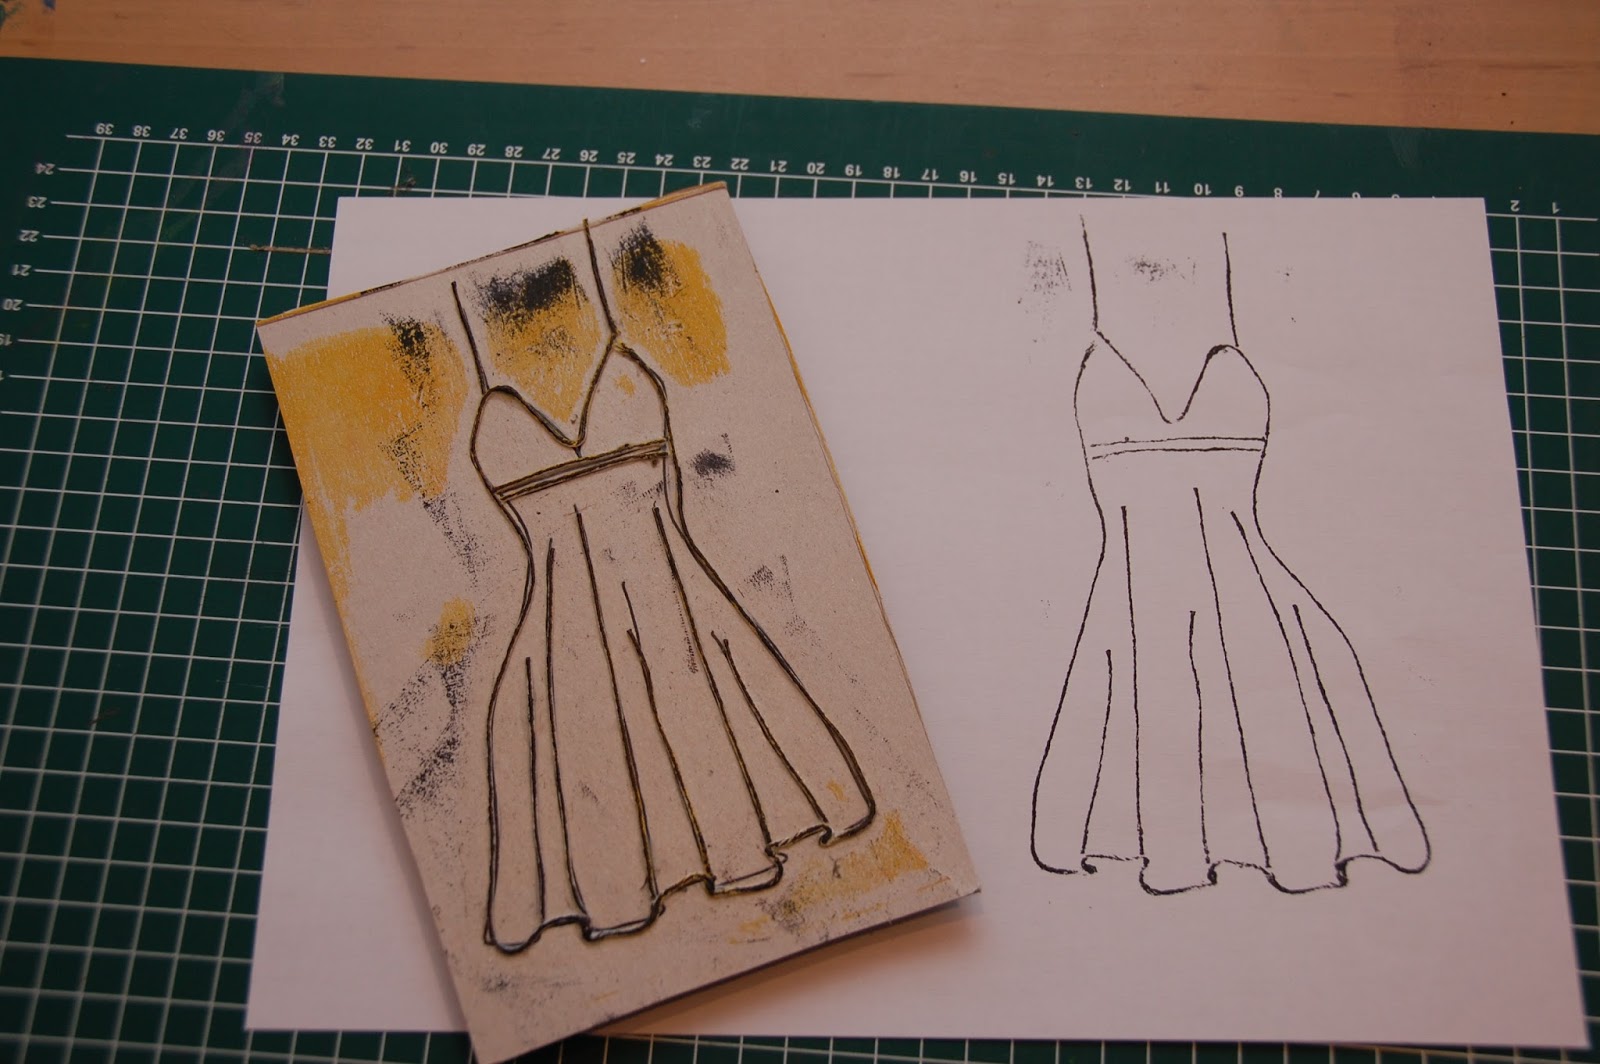
I also carved this stamp 


Used my wall of words stencil with the very appropriate text  Time to drink champagne and  dance on the table. I just needed to add a bottle of champagne and some journaling.


Want to know more about the ARTicles project, hop on over here to find out everything you need to know.


Monday, December 8, 2014

heart

For this forthnight’s Q&L challenge (which apparently is the penultimate, I had to look that one up, thx I learned a new English word) I choose the word heart.
A couple of weeks ago I bought Julie Fei Balzer’s carve, stamp and play book because I admit I am a stampaddict and am intrigued by making my own.
She is also having a challenge called #carvedecember, you can find everything about this here.
The first project in the book is carving a heart.
As it goes with addictions I couldn’t stop at making just the one and I made 5, actually I only made 4 but the negative makes also a great stamp.


For my spread I started by free cutting heartshapes out of bookpages. 


I added some textures with texture paste through a dot stencil, there was a happy accident as I don’t clean of my stencils, the dots became blue. I then stamped the different heart stamps (I like the stitched one the most) across the middle of the page.


I wanted to keep it simple, because I was liking the left over white space (normally I fill everything up with color but not now), but it was missing something and that something was a ribbon.
I stamped my favorite heart stamp along the ribbon and created a focal collage underneath it with a doily, a vintage picture, some feathers and a heart gem.
The ribbon I didn’t glue but sew on ( can you believe I sew it, I am absolutely rubbish at sewing but I like the look and well I figured I can only get better if I practice, right?)


Here’s a close up of the collage


Last but not least I wrote the quote A heart that gives, gathers from Tao Te Ching on tissue paper. I used acrylic paints in handy bottles with a fine tip (from Ikea).
The paint did take forever to dry however(overnight).


I also will be linking to Inky Dinkly Doodles sunday sentiments.


Saturday, November 1, 2014

nowhere

Unbelievable, again only just in time with my entry for this forthnigth's Q&L challenge. And yet this time I started on time. On sunday I did a quick search for quotes with nowhere (as my previous entry already had hug in it) and found this one interesting: Nowhere on your birthcertificate did it say that life would be easy.
So the theme was set: baby.

I used soft colours for the background:
yellow and blue gelsticks
with a white embossed resist of cute owls

This was finished on monday, ok still on track. Next I carved a footstamp, I used an image of a footprint of my son when he was only 6 weeks old (where has the time gone??) and used a clear carvingblock, this has the advantage that you do not need to trace your image, but it's pretty hard to carve and is rather slick to apply ink to.


I made a birthcertificate of my alter ego aka butterfliecrafter.


I used a tag from a pasta package, recycling at its best. The journaling lines are also a homemade stamp out of cardboard and string. A doodled border which came out just perfect and I am also pretty pleased with my handwriting (probably for the first time), so all in all I can say I love the tag.


I handwrote the quote, except for the word nowhere which are letterstickers. Then came the finishing touches: the washing line with babyclothes, the stars and the cute owls again but this time in color.


I will be linking this to my junk journaling fb group and because I'm so late with this entry I can also use this for tomorrow's Sunday Sentiments :-)

Sunday, May 11, 2014

Be Unique - junk journal page#17

Here is the other finished page that started out with just some pieces of scrap paper on them.


Here is the process of this page:

1. randomly glued strips of scrappaper on white cardstock      (if I would have been thinking I would have used a piece     of scrap cardboard)

2. gelli printed over it with a gradient of green colors, I like the ghost print as well, it even shows the pieces of scrap.
3. I made my own stamp with a piece of cardboard, string and glue
4. used a crunched up piece of tissuepaper as a stamp with purple acrylic paint and stamped all over
5. diluted some hot pink acrylic paint with water and added as drippage
6. finishing touches: the paperpieced Julie Nutting doll, some tape and the handwritten sentiment "Be unique"
While writing this post I thought of adding my fingerprint with ink, I saw this on one of the other entries of the Q&L challenge from Twinkle's twaddle, so thank you for this idea.

junk used:
* scrap paper
* dictionary pages

So here are the 2 pages that started out almost identical but both went there own way


linking with:


Thursday, February 27, 2014

alpha/dictionary catch-up letter P


I started out by trying to create a Panorama out of torn pieces of colored paper,
and I liked the look of this Pair of owls as if they were sitting in a tree overlooking this vast panorama.
The rock has a Poem about owls that is so true.

There was an owl
who lived in an oak 
the more he heard
the less he spoke
the less he spoke
the more he heard
we all should be
like that wise old bird

The last week there has been a lot written and said in the Belgian press (and apparently also in the world press) about these 2 pandas coming from China to stay here in a park for a couple of years,
so I just had to have a Panda in here, I carved this stamp myself, I’m surprised how easy the material carves and how neat results you become.
I need to have some more, much more.
I painstakingly searched for a panda that was facing the right way, that is his face to the left, but had forgotten when you stamped it becomes reverse, doh!


Wednesday, February 12, 2014

How much junk on 1 page??? (junk journal page #4)

I finally managed to finish the next page for my junk journal.
Clare gave us kind of a challenge, wondering how much junk we can use on one page.
I’m always up for a challenge so of I went and this is what I turned up with:
(sorry for the picture because it's so bulky I couldn't scan it and my photography skills aren't that great)


I started with a piece of cardboard from a cereal box (#1) which I painted green with paint that was leftover on my pallet (#2).
The pink was added by cleaning of my stencils(#3)


The frame is made by using cut out hearts that were sitting on my desk, I intended to use them on this month’s birthday calendar, but they were too bright for it and I had redone them in a softer color, so they were in fact junk (#4)
The hearts led me to a romantically themed page which needed cherubs and flowers.
The flowers I made from newspaper (#5) and a die cut.


This is how the pieces look when die cut, then you role them up using a quilling pen.
The cherubs are images from a napkin. They needed golden wings, but  as I didn’t have any stamps, I made one myself, this is my first attempt at carving a stamp, not too bad if I say so myself:


I definitely going to buy some more blocks for carving and attempt to make some more unique stamps.
In the rigth bottom corner I glued a row of hearts which I used as a mask whilst gelli printing (#6)
The last piece of junk I used on this page was a pair of black earrings in the shape of angel wings which were from a secondhand store, so they were someone’s junk, but my treasure (#7)

 So my answer to Clare’s question is 7 for now.

Friday, November 8, 2013

New Home cards

Hello there,


I made these colorful cards for someone who is moving, so they can notify all of their relatives and friends of this event and give them the new address.
I made them out of gelli prints and a homemade house stamp (for the how to see also pretty dress stamp)


I'm so glad I found a way of using up some of my gelli prints, so I can make some more J

The sweepstake remains open for another 22 days, be sure to check it out over here.

Wednesday, October 16, 2013

Alpha/dictionary challenge – letter C


Another catch up letter, C for clock.


I started out by making a texture plate for some gelli printing :


Therefore I embossed 4 pieces of cardstock 
with a clock embossing folder 
and glued them to another piece of cardstock.


Then came some experimenting on the gelli plate,
 while doing so I noticed 
what a FAB stamp the texture plate was. 


So I used my new homemade stamp with turquoise paint and the gelli plate as stamp pad on a golden background ( the gold to me represents the color of the mechanism of a clock), added the tag which was embossed with the same folder and colored with some walnut stain distress ink. The quote by Andy Skinner was added before embossing and fitted so well with the clock theme:
Wake your dreams

My husband likes this page a lot, so I made him a card/gift certificate in this style for our fifth wedding anniversary last week. The certificate is good for an original canvas by me :-)

Thursday, August 29, 2013

pretty little dress card


I saw this lay out called ‘Night on the town’ from Julie G and loved the image of the pretty dress. Unfortunately I don’t own such a stamp, but no panic because a while ago I saw this great tutorial from Jennibellie about making your own stamps using string and wanted to give this a try, this was the perfect opportunity. I drew the image on cardboard, glued string to it and sealed it with gel medium. According to the tutorial you best use the stamps with acrylic paint as ink doesn’t really work that well, but to my surprise it worked just fine. I think it has something to do with the type of string, I used kitchen string, this is fairly smooth.  

left the homemade stamp ( which has already yellow paint on it because I tried it out on the gelli plate :-))
right the stamped image using stazon
I stamped the dress on a gelli print, cut it out and glued it to another print. I also made this super cute little coat hanger. This makes the perfect birthday card for my husband’s grandmother tomorrow.


I also will be linking this post to August's gelli print party.

Bye for now, hope to see you soon back.