Sunday, January 24, 2016

Life is like a new hat

The weekly chalenge at The Craft Barn is hat(s).
My initial thought was the mad hatter, after some research on the net I ended up  with steampunk and found a digital image that I colored using my Derwent pencils.
The color scheme fitted with a background I already had in my journal


1: the page had a green clean up from a stencil; I colored the page with neo II crayons and used a babywipe to blend them.
2: brayered a lightly coat of white acrylic paint
3: added some stamping (which totally failed, but it gives texture)
4: another coat of white acrylic paint brayered on top
Lastly I stamped a background stamp from kaisercraft with a net structure.


The other elements on the page are:
metal foil embossed with a clock embossing folder,
the steampunk angel which was stamped and embossed,
the quote 
Life is like a new hat
You don't know if it suits you
if you keep trying it on in front of your own mirror.
typed on my typewriter and colored with DI.
and some metal embellishments.

Friday, January 22, 2016

break away

The Craft Barn is revisiting the alpha/dictionary challenge held in 2013, which in fact was my first ever challenge I participated in. I only joined in in September, so way behind, but did manage to complete my whole dictionary. 
All the rules for this year's challenge are explained here, I am going a little of the beaten track as I will not use a dictionary (as said did that in 2013) but created an accordeon booklet with one page for each letter 


and I will be creating an alphabet of happiness.
Our first letter is B which stands for break away in the alphabet of happiness.
I created the background following my second Wanderlust lesson.
Added a doodled sun, because going on holiday to the sun is a break and the doodles fit in with the mark making lesson.


Wednesday, January 20, 2016

WOYWW346

Hello,
A very late entry from me this week, usually I am one of the first.
But there was not a lot to show as I haven't been doing anything the last couple of days but today I started on lesson #2 from Wanderlust.
This is how my desk looked like when I left it just a minute ago.


A close up of my mark making page for later reference.


That I haven't been doing anything the last couple of days is not completely right, I must say haven't been crafting for me as I am in the midst of a project with my son. Sunday morning he saw an episode of Art Attack on the Disney channel and came up to the craft room inspired and ready to make a bee postbox. Whoever knows Art attack and  their projects will know that in practice it is the adult that executes the project while the kid can't wait for it to be finished. Here is our postbox so far, still need to paint the yellow stripes though, this will probably be for our crafting session tomorrow. 


My visits to the other desks will have to wait till tomorrow, because I'm off to bed now.Till next time.

Friday, January 15, 2016

JAM 2 - nickname

Challenge #2 in the JAM sessions is nickname and to use stamp(s).
I don’t really have a nickname so I choose my crafting alter ego, butterfliecrafter and created this page.


I picked a butterfly napkin, as this was pink I painted the background pink, a color I don’t use that often.


Next I stamped a lace stamp in purple all around, because the napkin design also has some white lace in it. (It’s hard to see, but the shimmer you see is the stamped lace)
I had some lace butterfly stickers in my stash which I glued to the page, stencilled some purple flowers


in which I doodled a bit, really like the effect it gives, it really makes the flowers pop.


Finally I stencilled my nickname and added some gold in a few letters.
As you might have noticed my buterfly is in a somewhat strange position, this is a little oops along the way, because the page is round you don't really see what is up and down.
On to challenge #3.

Wednesday, January 13, 2016

WOYWW345 - Wanderlust 2016/1

Hello and welcome,
Wednesday again, time to show our desks and what is on it.
Here is mine


I must say I’m pleased that it is still in such a good shape, the correct storage is helping me keeping it that way.
What is on my desk?
My first finished page from Wanderlust 2016.


Can’t take you through it step by step though, sorry, need to respect the rules.
Our prompt was to create a page around the word that describes us today (just that day, or broader like this year)
Kasia choose change and I must say that applies to me too, this year will be marked by a change on the work front, either I will move locations (much further commute L) or change job all together.

But I didn’t want to just copy her word so I also choose grow, because I want to grow in my art, as a person... and I found just the quote with both words in that describes it perfect:
If we don't change,
we don't grow.
if we don't grow,
we aren't really living.


Tuesday, January 12, 2016

JAM 1 - name

This year I will also be taking part in the JAM (Journal about me) challenge hosted by Tiaresmith (all details can be found on her blog).
We will be creating a round page each week with a given prompt and challenge.
Week 1: prompt is your name and the challenge is to use a babywipe.


Here is a step by step how I created this page


Colored my circle 
with an ochre and brown 
gel stick.


used a babywipe 
to create 
a more watercolor effect.


tried a new technique, image transfer with matte medium.
glued my laserprint image down with matte medium, left it for an hour, after an hour wetted it with water and rubbed the paper away with my fingers and tada my image of Queen Victoria has been transferred.


I stamped a border all around
and cut the letters of my name 
with my cameo 
out of a scrap piece of paper.


The flowers are actually made out of babywipes, I have a stash of them dried in my drawer (never throw anything away), cut circles out of them, hit them with a heatgun so they crumble up, glue them together and add a center. 
This also fits in perfectly with this month's lets play theme so I will also be linking there.

Thursday, January 7, 2016

ancient city

Carolyn Dube is hosting a rediscover how to play challenge this year, yeah awesome!
I think it’s kind of a continuation of her permission to play class, if you haven’t taken this class yet I can highly recommend to do so (and pstt it’s even free)
Every month there will be a challenge which you may or may not follow, you can link up to 3 times a week and each month there will be an awesome price to win, like a 50 dollar gift certificate to Dickblick this month.
So on to this month’s challenge which is to use something that would have been thrown away.
I must say I need to interpret that as something that someone else would throw away, as I am a total hoarder and see a use in pretty much everything. (much to the dislike of the DH)
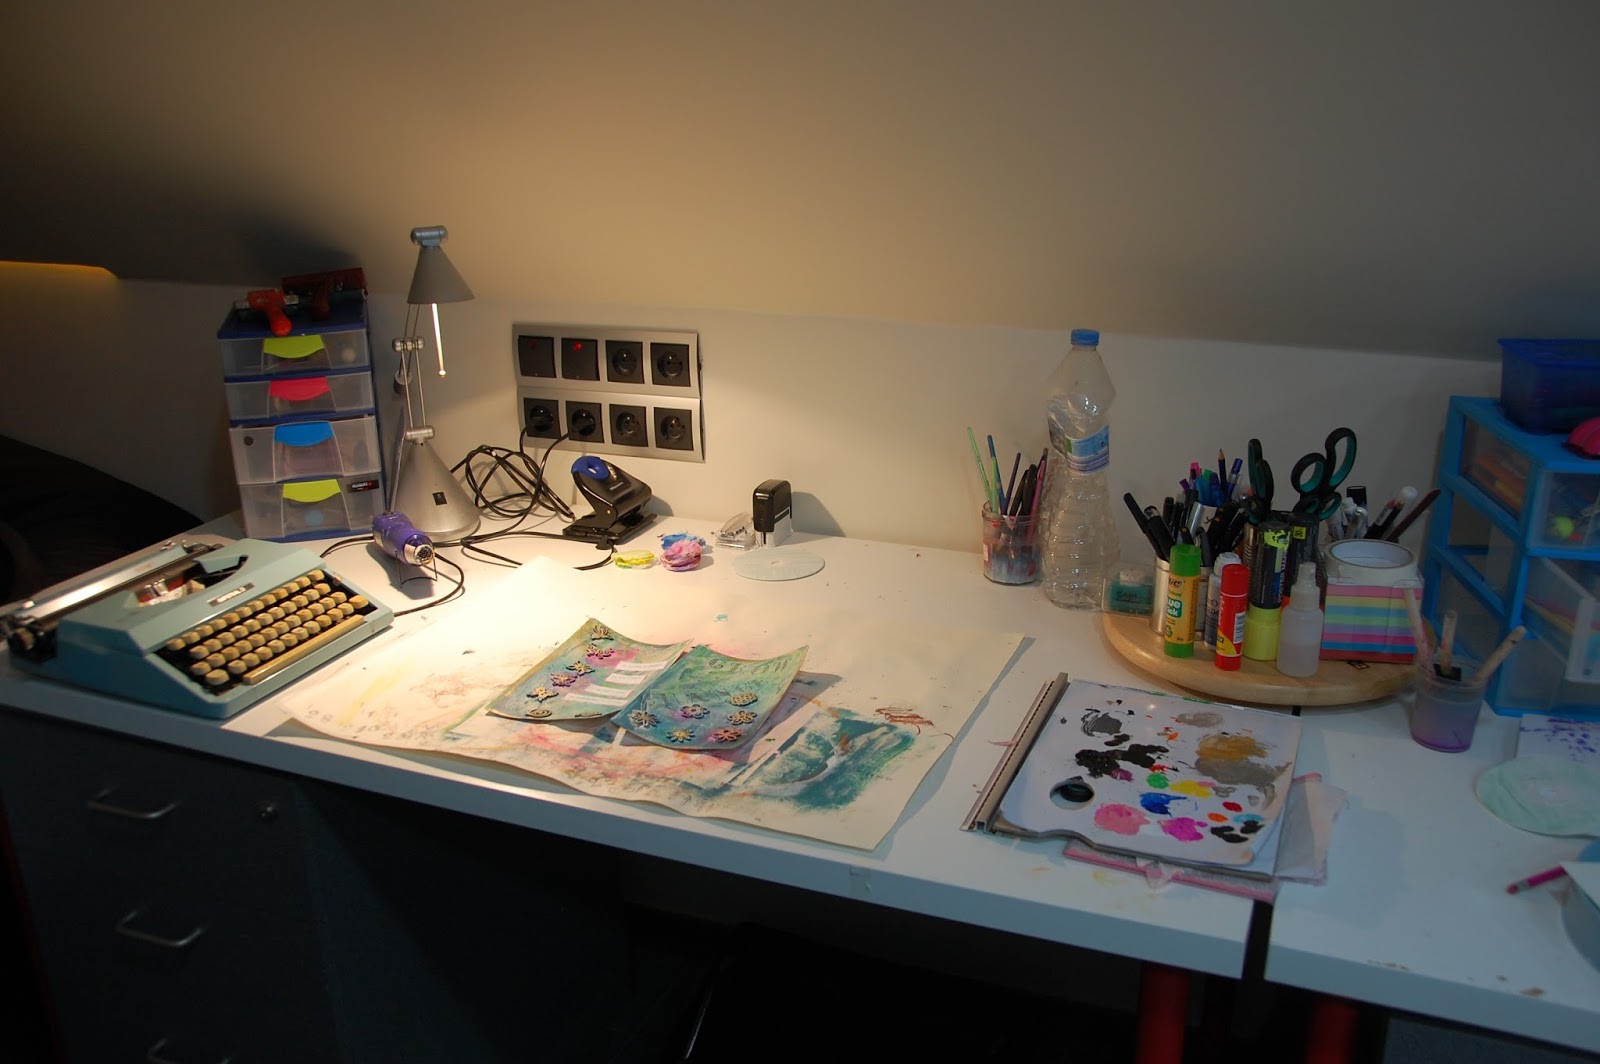
Here is the evidence to show for it, a bin full of “junk”


So I dived in and pulled out these, some teabags and a crown from a cake decoration (it’s a tradition here in Belgium on January 6th to eat a “three kings” cake which has a crown on top and a treasure hidden inside, whoever has the treasure is king for a day).


I started by glueing the crown on my page as a border


Applied a layer of gesso


Suddenly an ancient city appeared to me (probably due to the fact that we are currently searching for our next summer family holiday and I’m looking at Italy in particularly), as it is on both sides of the page it looks mirrored.

I used a blue gel stick and a babywipe to color the sky blue.


Added some script stamping and colored the holes in different colors of the rainbow.


Don’t know for sure whether it is complete (I know I didn’t use the teabags, these will go back in the box and appear somewhere else no doubt), but for now I call it done. And didn’t Carolyn say that it is not about finishing, but about the play.
I must say I’m still not in complete play mode as I overthink way too much each step, and worry about the outcome…
But heay I’ve got a whole year to join in the fun and find the inner kid in me again.

Wednesday, January 6, 2016

WOYW344 - planner

What is on my workdesk this Wednesday?
Well, my planner in progress.


I thought to be more organized this year I needed a planner, after seeing the prices in the shops plus that they didn’t really take my fancy I decided to make one myself.
The criteria were: small enough to put in my handbag, able to put pages in and out and of course be pretty.
I found a little A5 binder in the thrift shop for only 30 eurocent, I cut it so now it measures 16 by 17 cm and covered the front, back and inside with patterned paper, I painted the spine black.


I noticed that a closure would be nice to have, so I attached a round button and a loop made out of some satin, on the inside I covered the holes with the word now in scrabble tiles and a pretty metal embellishment on the back.


I used 2 index cards per week, I doodled a dividing line and flower in the half of each page, stamped the day of the week and number. Each month will be divided with some pretty paper.
On the inside cover I made a pocket to hold a little notebook.


This is still unfinished as I am planning of embellishing the front a bit more, nothing too bulky, nice and flat. And as time goes by and I'm using it I for sure will make some adaptations.
Thanks for stopping by, I'm off on my tour around the world through desks.O, how I love it.

Sunday, January 3, 2016

calendar 2016

My first post of 2016, so first of all I want to wish you all a very happy new year loaded with creativity.

Last year I participated in the monthly Craft Barn calendar challenge, these were the pages I created

But I still needed to create the cover.


I started with one of my favourite background techniques, which is tearing and collaging booktext.


Next I used a technique I learned in another Craft Barn challenge, the retiform stamping technique. You create blocks, mask them off with some post-its and stamp inside of these blocks, I used the themes of the pages: trees, butterflies, snowmen, flowers, owls, dragonflies, hearts. I had a little oops as I started out stamping in blue and wasn't liking it, so switched to brown, but the already present blue was standing out too much

So I colored the other blocks with inktense pencils hoping the blue stamping would blend in more, but this wasn't the case, so I covered the blue stamping with some patterned paper. Better.

I created a stencil with the months of the year with the Silhouette Cameo, don't know what I did wrong as it took me like 5 goes before it cut correctly. Just had to show the stencil with all that wonderful color on it.


Finally I added the numbers 1 to 31.


I've added the months with some washi tape, this way I will be able to change them easily next year so I can enjoy my calendar for years to come.


Now this is completed I can get a start on my planner for this year and be totally organized (as you may notice something I'm rather not otherwise these would already have been finished before the beginning of the new year)